Node.js is a powerful JavaScript runtime that allows developers to build server-side applications using JavaScript. It is widely known for its speed, efficiency, and the ability to handle asynchronous operations effortlessly. Whether you’re building web applications, APIs, or working on IoT projects, Node.js provides the tools and ecosystem you need. For Windows users, setting up Node.js is the first step to exploring this robust platform.
In this guide, we’ll walk you through two straightforward methods to install Node.js on Windows. Whether you prefer the simplicity of an installer or the efficiency of a package manager like Chocolatey, we have you covered. By the end of this tutorial, you’ll be equipped to start developing with Node.js and npm on your Windows system.
Prerequisites
Before diving in, ensure your system meets the following:
- Windows 7 or later (64-bit is recommended).
- Administrator access to your system.
Methods to install Node.js on Windows
Using 2 different methods you can install node.js on windows. Using Node.js installer and Chocolatey on windows. Now let us discuss these methods in detail.
1. Installing Node.js Using the Node.js Installer
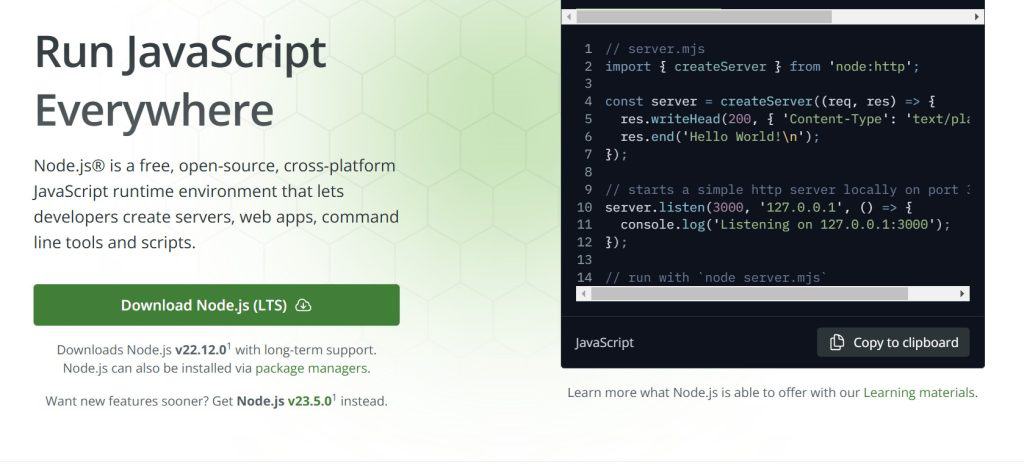
1. Visit the Node.js Official Website
Go to the Node.js official website.

2. Download the Installer
Click on the version you prefer (LTS is suggested for most users). The download will start automatically.
3. Run the Installer
Locate the downloaded .msi file and double-click to run it. The Node.js Setup Wizard will appear.
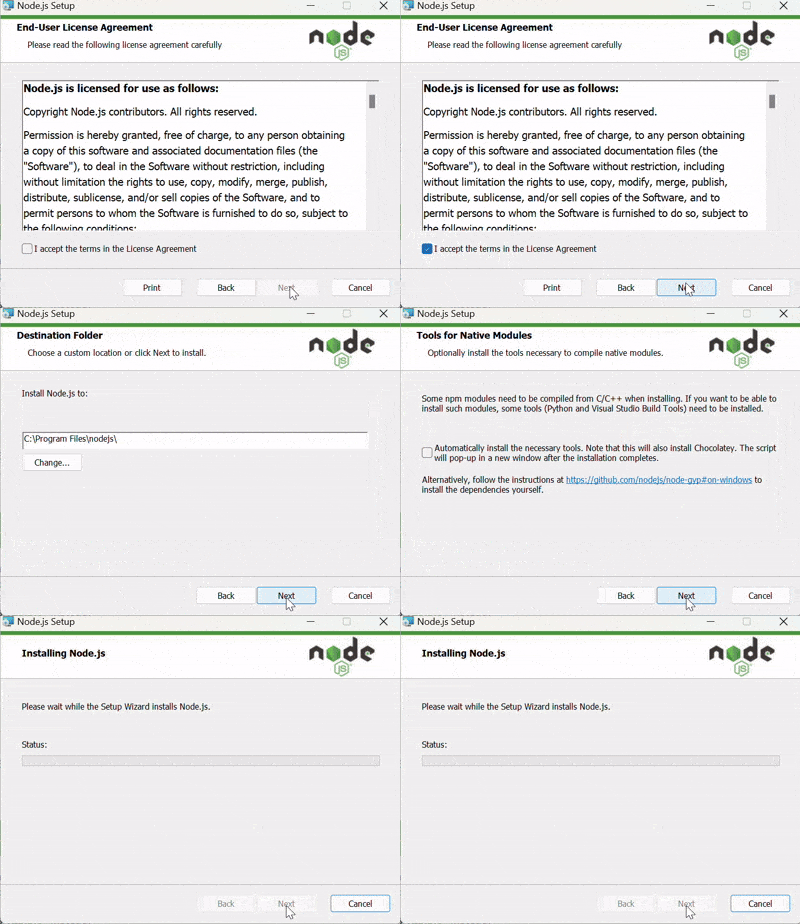
4. Follow the Setup Wizard
- Accept the license agreement.
- Choose the installation path (default is usually fine).
- Ensure that the “Add to PATH” option is selected. This is essential for running Node.js commands from any directory.
5. Complete the Installation
Click “Install” and wait for the installation to complete. Once finished, click “Finish.”

6. Verify the Installation
Open the Command Prompt and run the following commands.
node -v
npm -v
C:\Windows\System32>node -v
v22.12.0
C:\Windows\System32>These commands will display the installed versions of Node.js and npm1 (Node Package Manager).
Congratulations!! You have now successfully installed node.js on your Windows VPS .
2. Installing Node.js Using Chocolatey
Chocolatey is a popular Windows package manager that simplifies software installation. If you don’t have Chocolatey installed yet, refer to our guide on [How to install Chocolatey on Windows?].
1. Open Command Prompt as Administrator
Press Win + S, type “Command Prompt”, right-click, and choose “Run as administrator.”
2. Install Node.js via Chocolatey
Run the following command to install Node.js
C:\Windows\System32> choco install nodejs
Chocolatey v2.4.1
Installing the following packages:
nodejs
By installing, you accept licenses for the packages.
Downloading package from source 'https://community.chocolatey.org/api/v2/'
Progress: Downloading nodejs.install 23.5.0... 100%

nodejs.install v23.5.0 [Approved]
nodejs.install package files install completed. Performing other installation steps.
The package nodejs.install wants to run 'chocolateyInstall.ps1'.
Note: If you don't run this script, the installation will fail.
Note: To confirm automatically next time, use '-y' or consider:
choco feature enable -n allowGlobalConfirmation
Do you want to run the script?([Y]es/[A]ll - yes to all/[N]o/[P]rint): y

Installing 64-bit nodejs.install...
3. Verify the Installation
Once the installation is complete, confirm the installation by checking the versions of Node.js and npm.
C:\Windows\System32>node -v
v23.5.0
C:\Windows\System32>npm -v
10.9.2
C:\Windows\System32>
Using Chocolatey 2 ensures you always have an easy way to manage and update Node.js in the future.
Why Node.js?
Node.js is not just a runtime; it’s a gateway to modern web development. With npm, you can access a vast library of packages to build, test, and deploy applications efficiently. Whether you’re working on a simple website or a complex API, Node.js empowers developers to bring their ideas to life.
Conclusion
Installing Node.js on Windows is straightforward, whether you prefer using the official installer or the Chocolatey package manager. By following the steps outlined above, you’ll be ready to dive into the world of JavaScript development. Looking for a robust environment to test and deploy your Node.js applications? Veeble’s RDP VPS solutions provide the power and flexibility you need to scale your projects. Experience seamless performance and unparalleled support with our hosting services.
Start building with Node.js today and unlock your development potential!!
Also Read:
