
MagicQuill Install. Here’s How!
This guide will guide you to install the awesome AI photo editing tool which is known as the Photoshop alternative called MagicQuill and how to use it. With MagicQuill, you can:
🎨 Adjust colors and enhance specific areas.
➕ Add objects that are not in your photo.
🗑️ Remove unwanted parts of your photo.
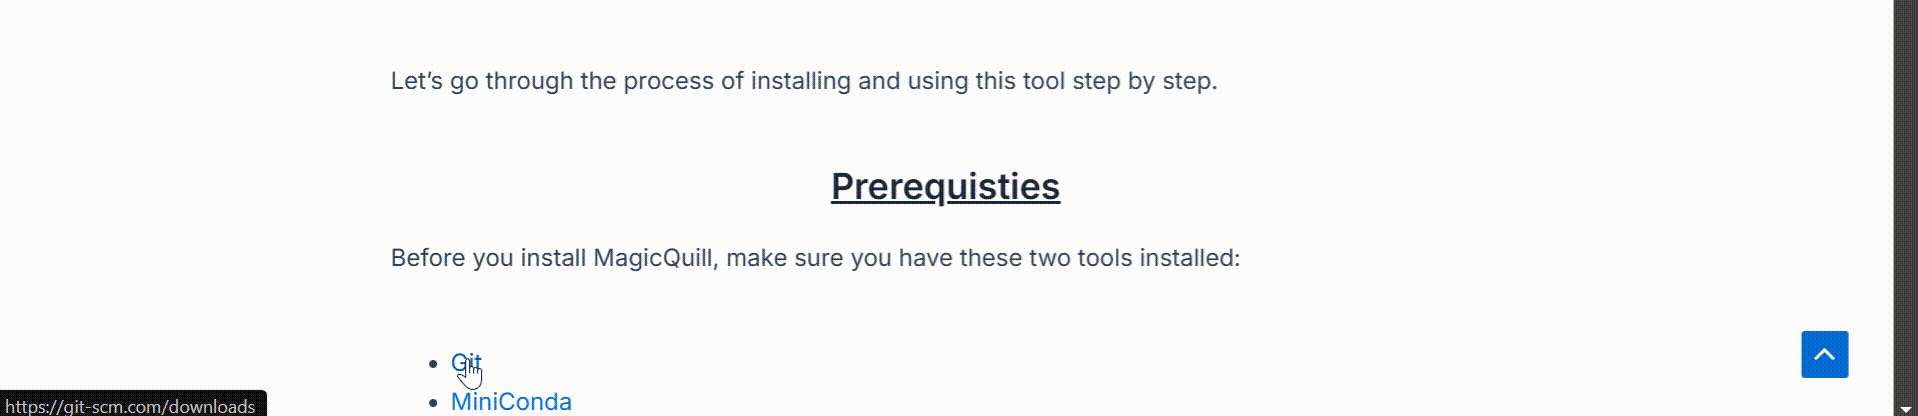
Let’s go through the process of installing and using this tool step by step.
Prerequisites
Before you install MagicQuill, make sure you have these two tools installed:
⚙️Git
🐍MiniConda
Download links: https://git-scm.com/downloads/win, https://repo.anaconda.com/archive/Anaconda3-2024.10-1-Windows-x86_64.exe
Below is a sample recording demonstrating how to install these tools:
Download MagicQuill
- Open your terminal or Anaconda Prompt.
- Run the following command to download MagicQill:
git clone --recursive https://github.com/magic-quill/MagicQuill.git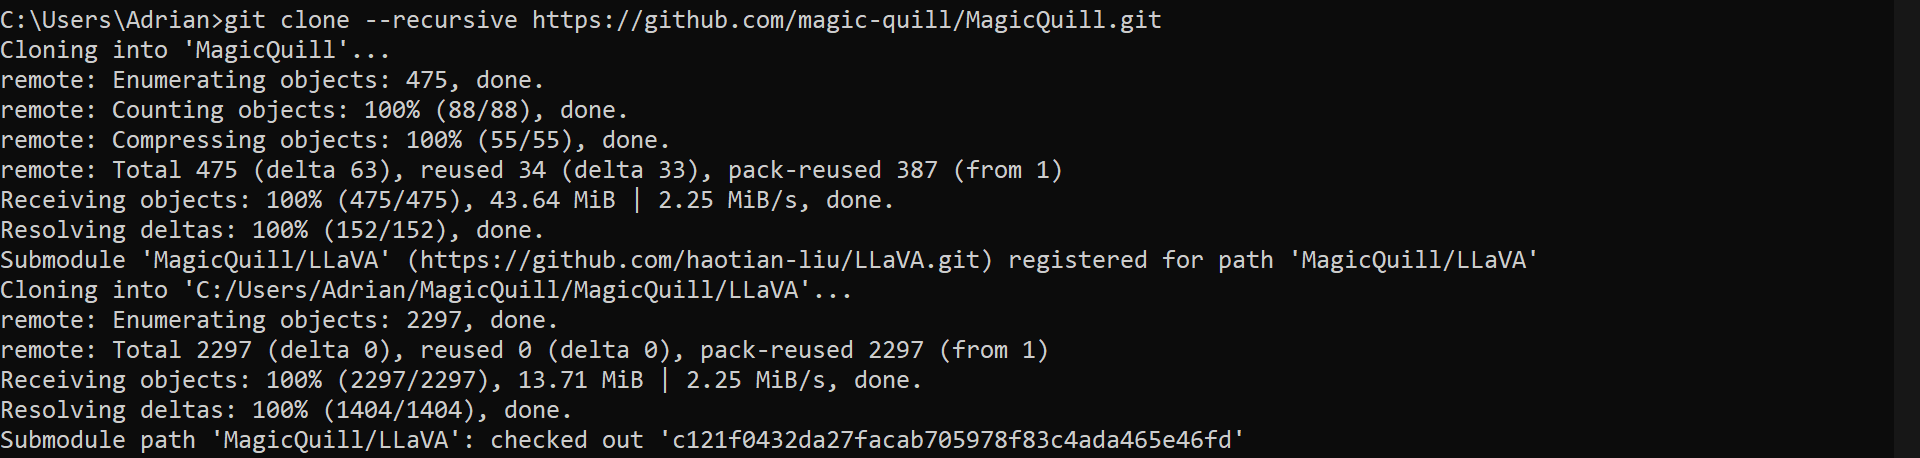
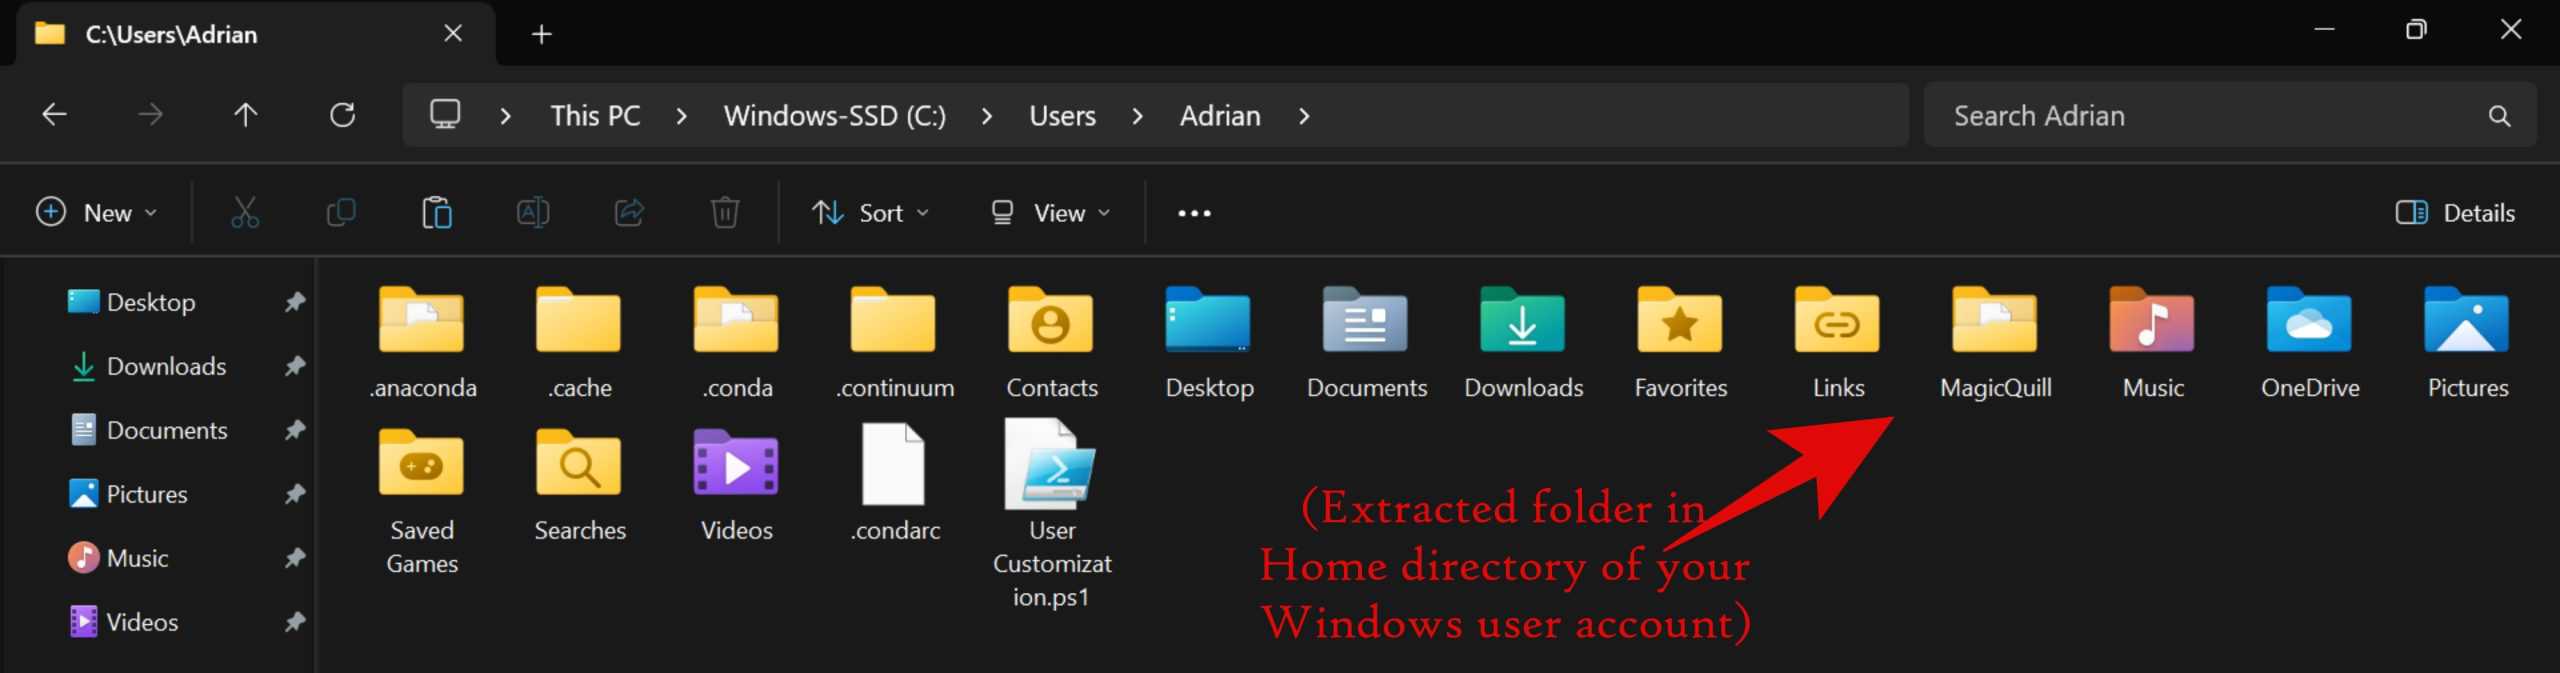
If Git doesn’t work for you, you can manually download the zip file from MagicQill’s GitHub page. After downloading it, extract it to the home directory of the Windows user account you have been logged in to.
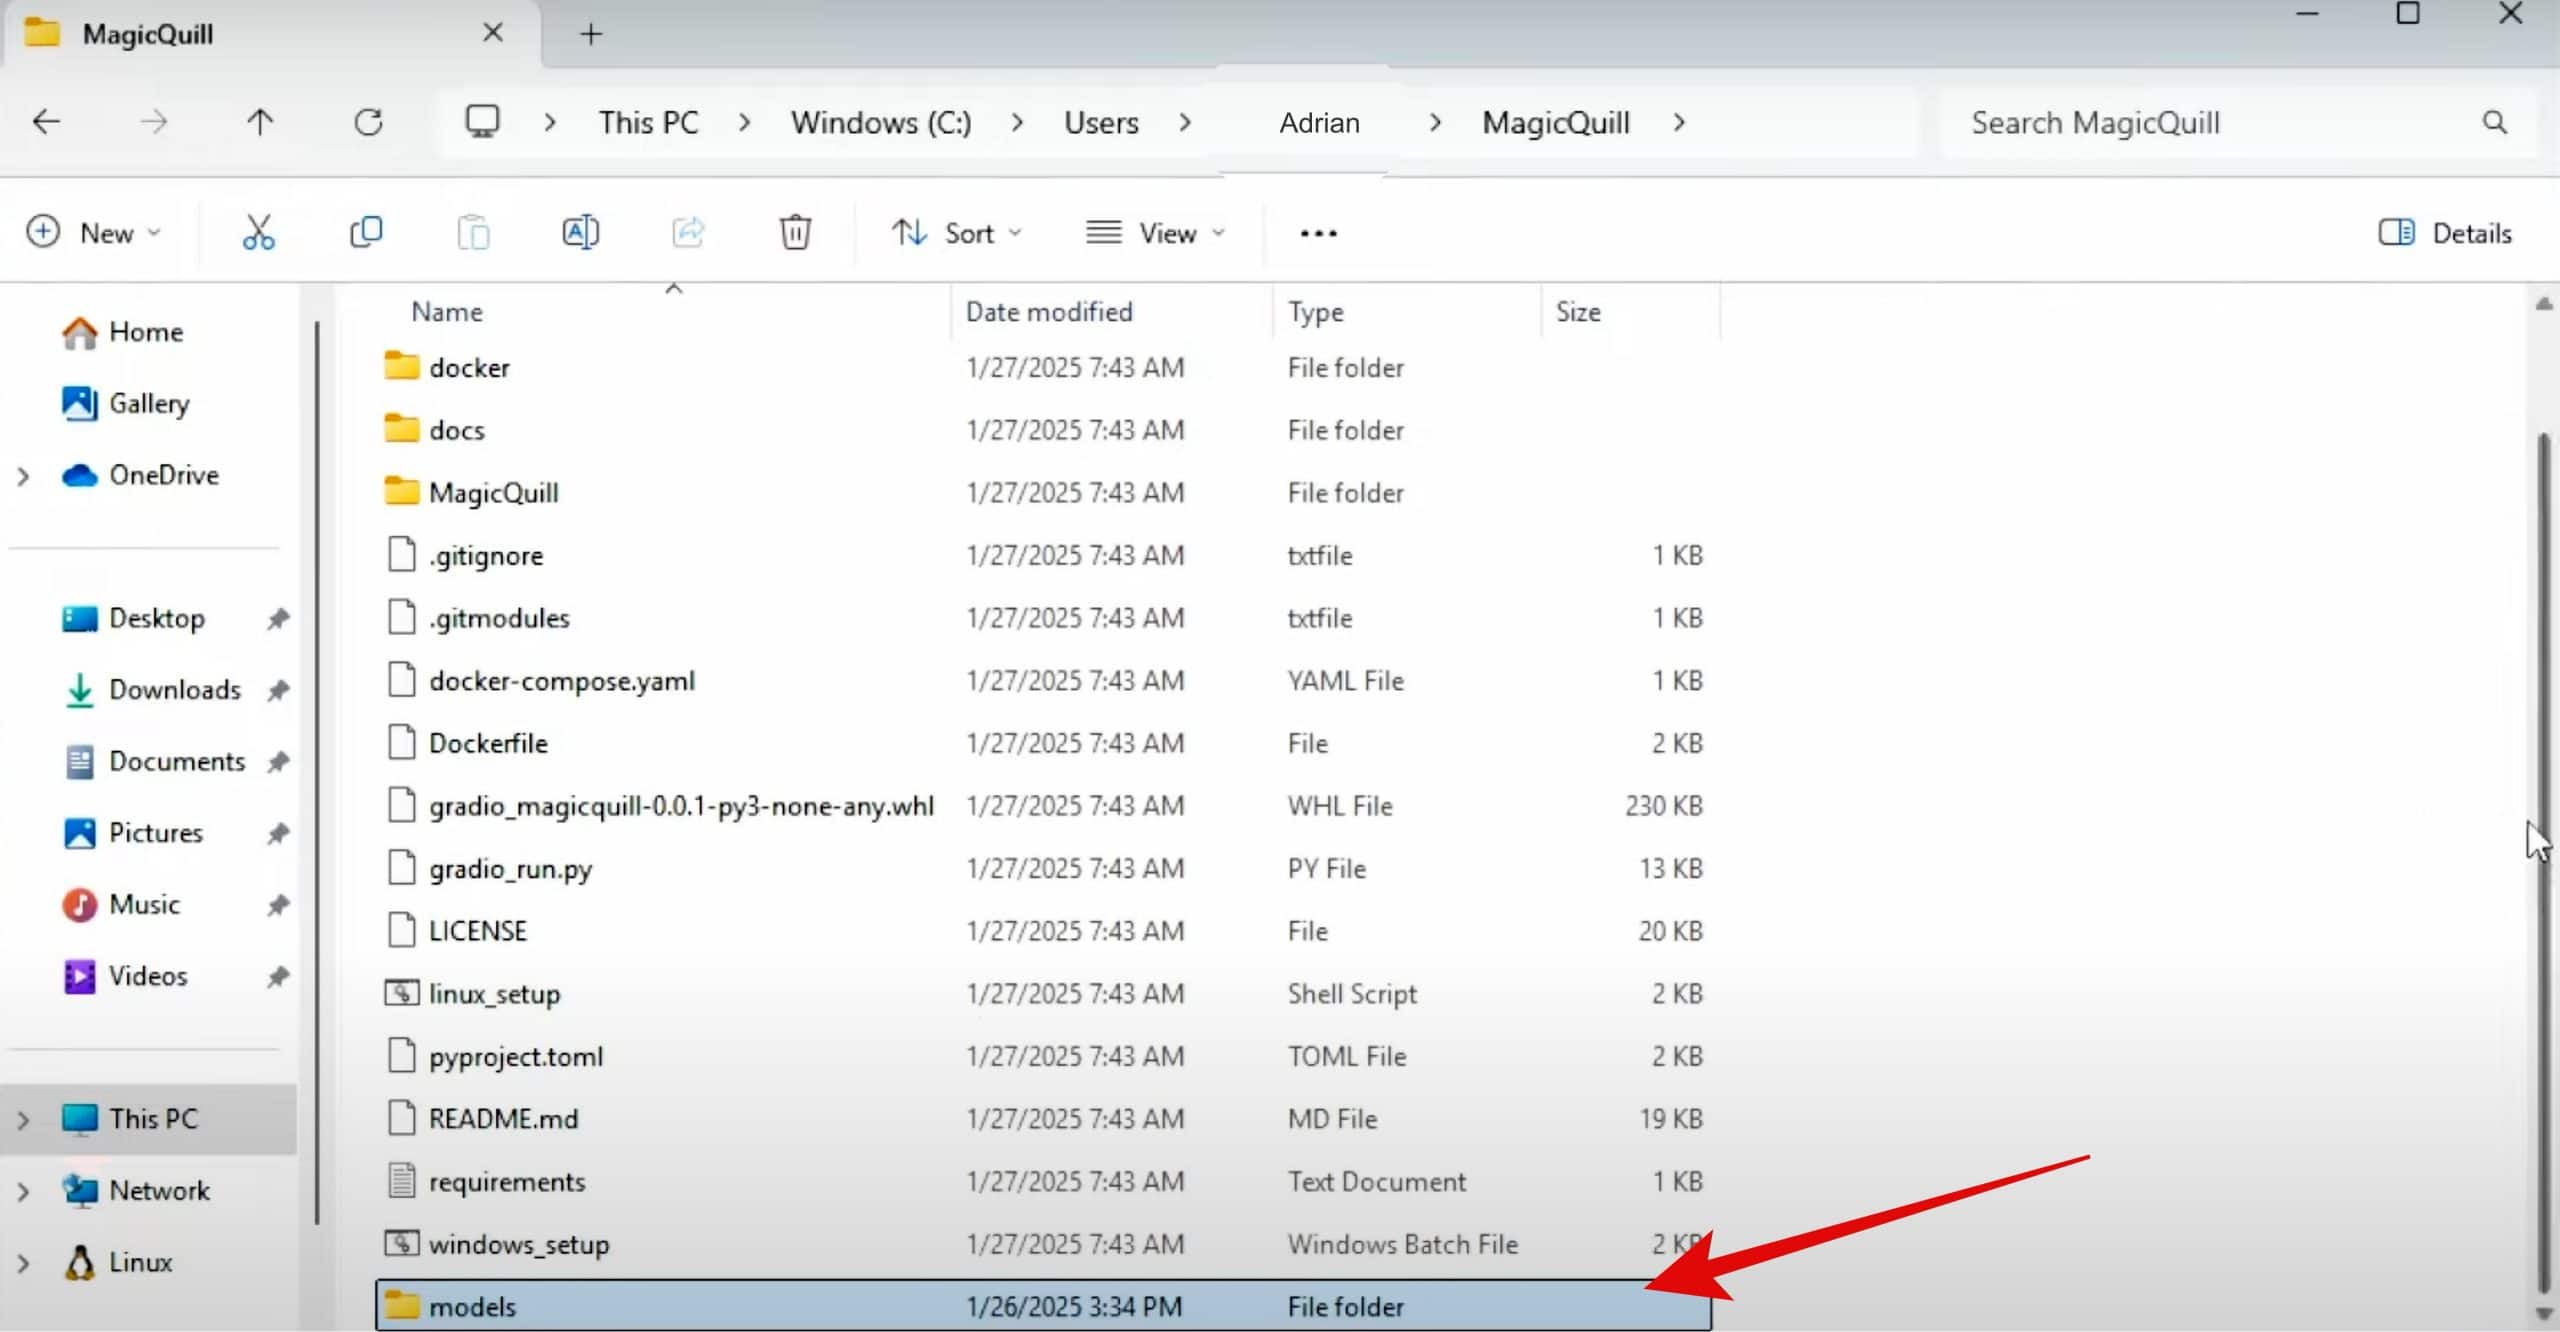
Download MagicQuill Model
- Navigate to the MagicQill folder in your terminal/AnacondaPrompt.
cd MagicQuill
- To download the Model, just click on the below Download Link:
- Extract the models.zip file which we downloaded now to the MagicQuill folder in your User home folder.
Create a Virtual Environment
- In your AnacondaPrompt, create a virtual environment for MagicQuill:
conda create -n MagicQuill python=3.10 -y
- Activate the environment:
conda activate MagicQuill
- Install Torch in this virtual environment. This helps maintain a clean and organized setup, allowing MagicQuill to run smoothly without any conflicts:
pip install torch==2.1.2 torchvision==0.16.2 torchaudio==2.1.2 --index-url https://download.pytorch.org/whl/cu118Install MagicQuill Interface & Lava Environment
- To ensure compatibility and ease of use, install the MagicQuill interface built with Gradio. Execute the below command to do it:
(Make sure you are in the MagicQuill folder inside the AnacondaPrompt/terminal before executing the command)
pip install gradio_magicquill-0.0.1-py3-none-any.whl- Install Lava environment which is a framework needed for MagicQuill to run by executing the below command:
copy /Y pyproject.toml MagicQuill\LLaVA\
pip install -e MagicQuill\LLaVA\
Install MagicQuill Requirements
MagicQuill’s requirements are outlined in the requirements.txt file located in your MagicQuill folder.
To execute on your installation, run the below command:
pip install -r requirements.txtRunning MagicQuill
MagicQuill has been successfully installed. The next step is to run it from Anaconda Prompt to obtain the browsing link. To do this, execute the following command:
python gradio_run.pyIt may take a little while to run the program the first time. Eventually, you will receive a link similar to the one shown in the screenshot below. Simply copy and paste this link into your browser to use MagicQuill.

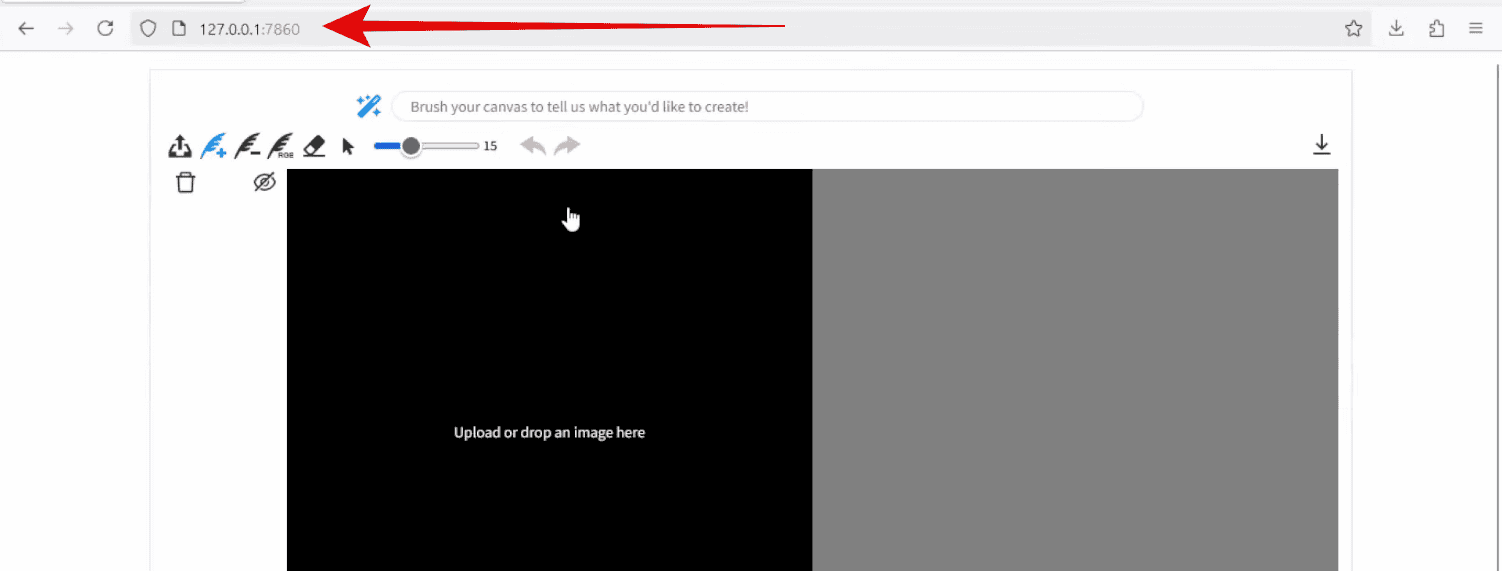
You have successfully launched the MagicQuill photo editing AI in your browser, allowing you to creatively edit photos. You can also use the online version through the HuggingFace website >> https://huggingface.co/spaces/AI4Editing/MagicQuill