Docker is an incredibly powerful tool that has reshaped how we think about developing, deploying, and running applications. By using Docker, developers can easily package their applications and dependencies into a container, which can then be universally run on any system that has Docker installed. This containerization aspect not only simplifies development and testing across different environments but also streamlines deployment. In this guide, we’ll focus to install Docker on an Ubuntu operating system, which is one of the most popular Linux distributions and well known for its ease of use. Whether you’re setting up a personal project, a professional development environment, or a production server, getting Docker up and running on Ubuntu is a great first step.
Docker containers are lightweight, especially compared to traditional virtual machines, as they do not need the extra load of a hypervisor since they run directly within the host machine’s kernel. This means that you can run more containers on a given hardware combination than if you were using virtual machines. Docker also ensures consistency across multiple development, release cycles, and standardizes your environment.
One of the key features of Docker is its portability. Any computer, any infrastructure, and any cloud can run containers. This makes it very easy to move your applications around and run them wherever it is most convenient or cost-effective.
Steps to Install Docker
1. Update Software Repositories
Before installing new software, it’s a good practice to update the package repository. By doing this, you can be certain that the software is up to date.
root@ervintest:~# apt-get update2. Install Docker
Docker is available in the standard Ubuntu repository, but it might not always be the latest version. To install the latest version, install Docker from the official Docker repository.
2.1 Install Dependencies
First, install packages to allow apt to use a repository over HTTPS:
root@ervintest:~# apt install apt-transport-https ca-certificates curl software-properties-common -y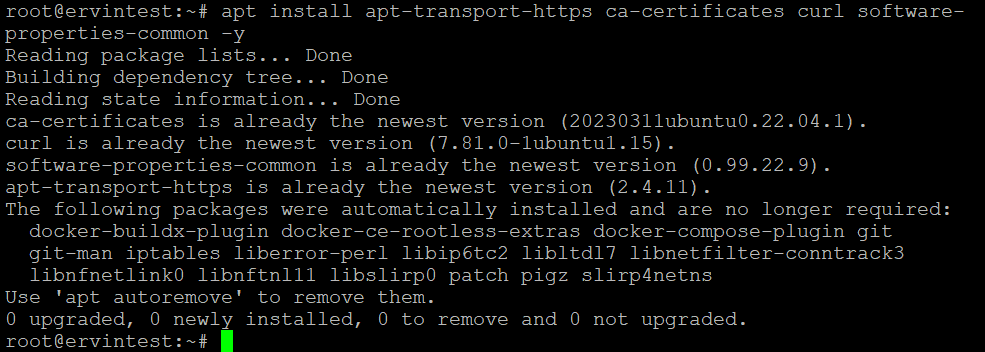
2.2 Add Docker’s Official GPG Key
A GPG key confirms a software package’s legitimacy. To add the GPG key for the Docker repository to your system, run:
root@ervintest:~# curl -fsSL https://download.docker.com/linux/ubuntu/gpg | sudo apt-key add -The output of this command should be OK, which means authenticity is verified.

2.3 Add Docker Repository to Ubuntu
Add the Docker repository to the apt source.
root@ervintest:~# add-apt-repository "deb [arch=amd64] https://download.docker.com/linux/ubuntu $(lsb_release -cs) stable"
2.4 Ensure the Correct Source
Confirm that the Docker packages are being sourced from the Docker repository rather than the default Ubuntu repository. If the Docker repository is correctly set up, it should appear in the version table with the candidate version pointing to it.
root@ervintest:~# apt-cache policy docker-ce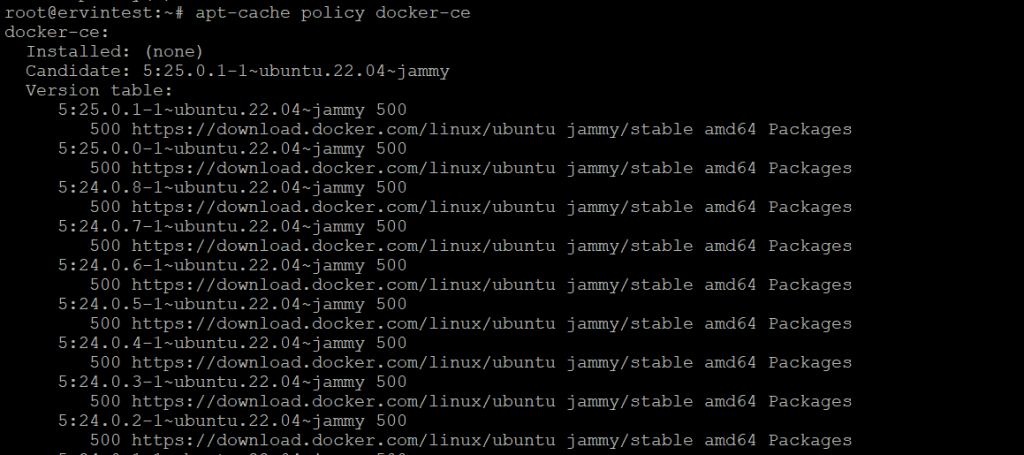
2.5 Install Docker
root@ervintest:~# apt install docker-ce -y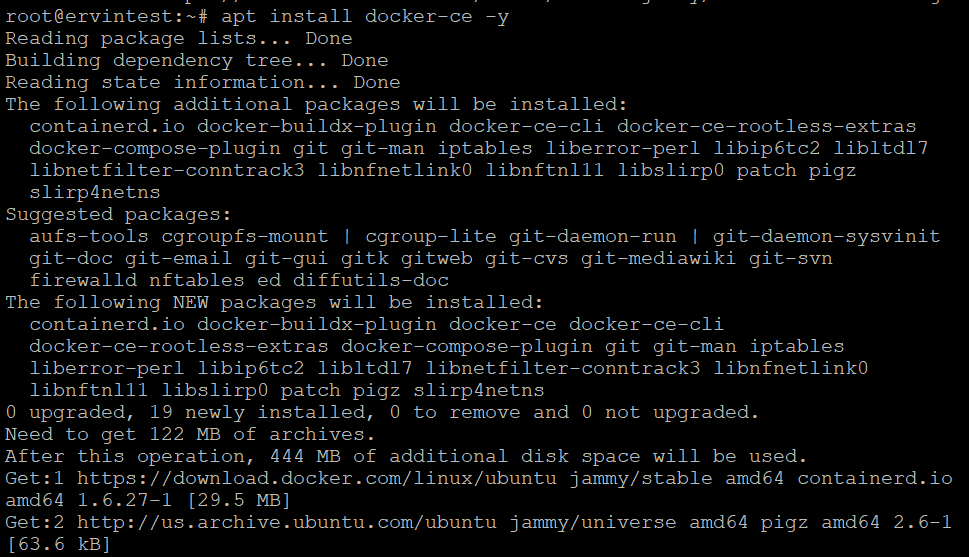
3. Verify Docker Installation
To verify that Docker has been installed successfully and is running, execute:
root@ervintest:~# systemctl status docker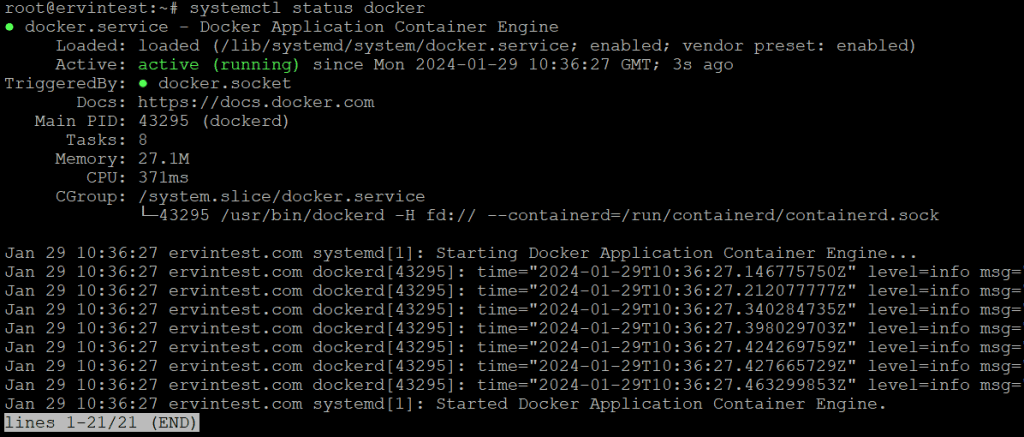
This indicates that docker is running.
Now, we have successfully installed Docker on your Ubuntu system. We can now begin using Docker to create, manage, and run containers.
Getting Started with Docker on Ubuntu
To display basic usage information, including a list of the most common commands available in Docker.
[root@ervintest ~]# docker
This information can serve as a quick reference guide to various Docker commands and their purposes.
1. Running a Docker Container
The most basic Docker operation is running a container. You can do this using the docker run command. For example, to run a simple Hello World container, use:
root@ervintest:~# docker run hello-world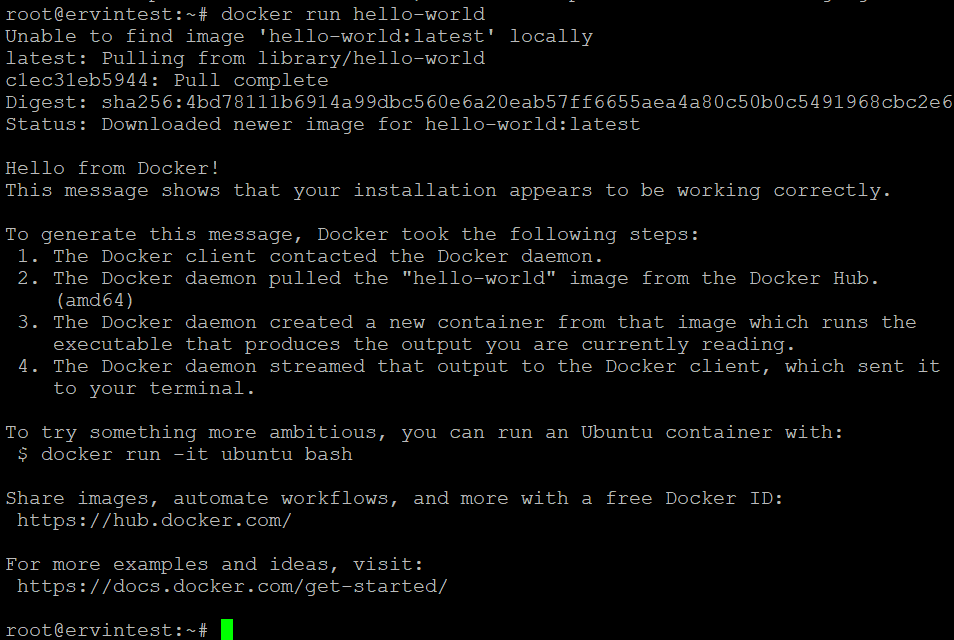
This command pulls the hello-world image from Docker Hub (if it’s not already on your system) and runs it in a new container. The container executes the program packaged with the image, which in this case, simply prints a message.
2. Searching for Docker Images
Docker Hub is a repository for Docker images. You can search for images directly from the command line. For example, to search for the Ubuntu image, use:
root@ervintest:~# docker search ubuntu
3. Pulling a Docker Image
Before you can run a container, you need the relevant Docker image. To download an image, use the docker pull command.
root@ervintest:~# docker pull ubuntu
This command pulls the latest Ubuntu image from Docker Hub.
4. Listing Docker Containers
To see a list of running containers, use:
docker ps

To see all containers, including stopped ones, use:
root@ervintest:~# docker ps -a
5. Managing Containers
You can start, stop, restart, and remove containers using the docker start, docker stop, docker restart, and docker rm commands, respectively.
docker stop [CONTAINER_ID]
And to remove a stopped container:
docker rm [CONTAINER_ID]6. Managing Docker Images
Similarly, you can list, remove, and manage Docker images with commands like docker images, docker rmi, etc. To list all images:
root@ervintest:~# docker images
To remove an image:
docker rmi [IMAGE_ID]
In conclusion, installing Docker on Ubuntu allows you to take full advantage of containerization, enhancing the efficiency and scalability of application deployment and management. By following the steps outlined in this guide, you have successfully set up Docker on your Ubuntu system, positioning you to begin creating and managing Docker containers. Whether for development, testing, or production, Docker offers a powerful and flexible platform for running your applications in isolated environments, streamlining workflows and maximizing resource utilization. As you continue to explore Docker, you’ll discover an expansive ecosystem of tools and best practices that will further enhance your containerization journey.