
The problem of being unable to shrink a disk partition despite free space in Windows can sometimes be tricky. The primary reason is the presence of unmovable system files at the end of the partition, which prevents the shrink operation. Here’s a step-by-step guide to troubleshooting the problem of being unable to shrink a partition despite free space without any data loss.
A brief overview of my solution.
Windows writes system files all over the partition, not sequentially. These unmovable files might include Page files, Hibernate files, and System restore files. To fix an unshrinkable partition, you need to temporarily disable certain features, perform the shrink operation, and then re-enable them.
Steps Before Unshrinking Partition
1. Disable Hibernate File
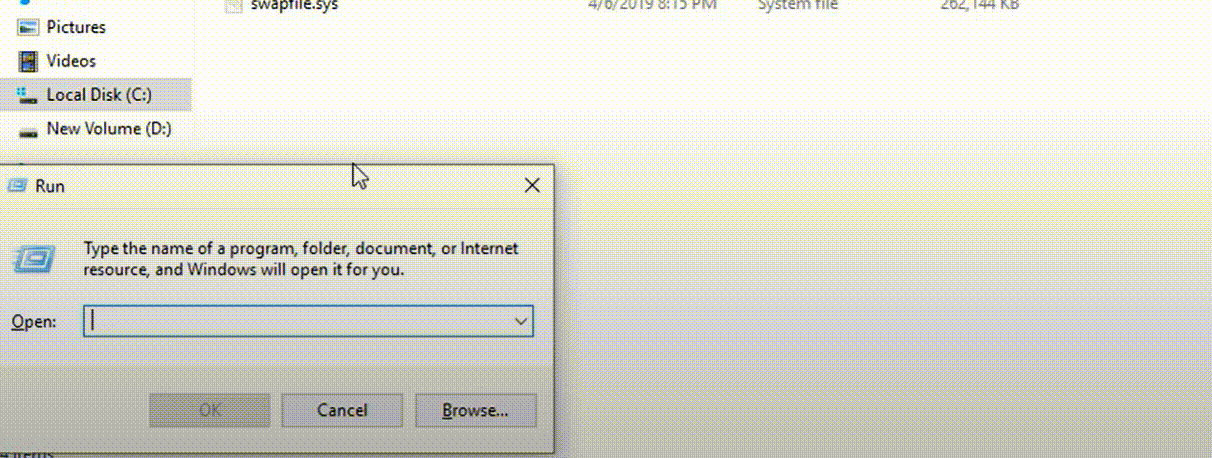
- Press Windows + S, type CMD, and right-click on “Command Prompt” to select “Run as Administrator.”
- Then execute the below command to disable hibernation:
powercfg.exe /h off
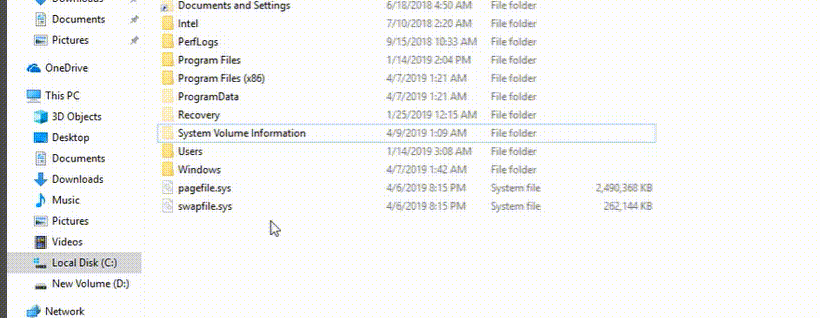
After executing the above command, you can confirm the changes by opening File Explorer and navigating to C:\. The hibernate file (hiberfil.sys) should be gone if it is disabled via the command line, as shown in the screenshot below.

2. Disable Paging File
- Press Windows + S, type Performance, and select “Adjust the appearance and performance of Windows.“
- Go to the Advanced tab and click “Change” under Virtual Memory.
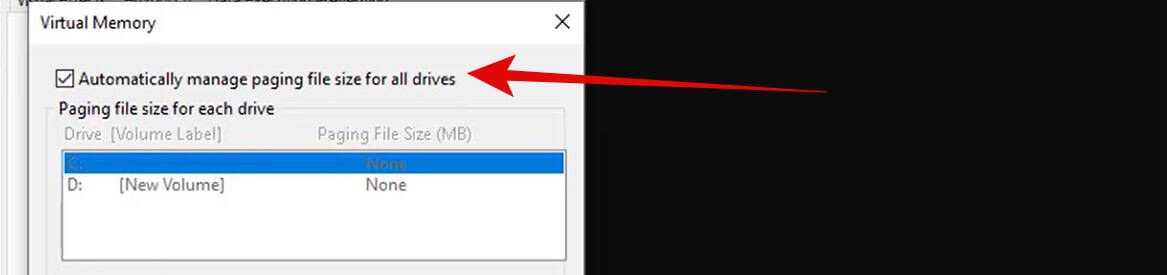
- Uncheck “Automatically manage paging file size for all drives.”
- Select “No paging file” and click “Set.“
- Restart your system.
3. Disable System Restore
- Press Windows + R, type Control, and navigate to “System and Security > System > System Protection.”
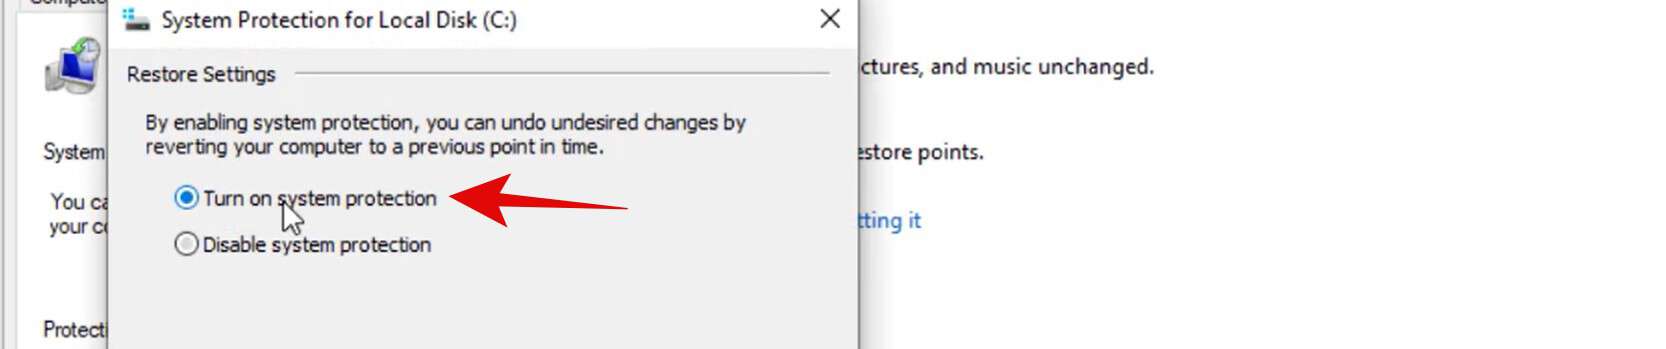
- Select the drive (e.g., C:\), click on “Configure,” and choose “Disable system protection.
- Click “Apply” and confirm.
Steps to Shrink Partition
- Press Windows + X and select “Disk Management.” This will open the Disk Management utility, in which we can shrink the partition.
- Select the partition you want to shrink, right-click, and choose “Shrink Volume.”
- Enter the desired shrink size and proceed.
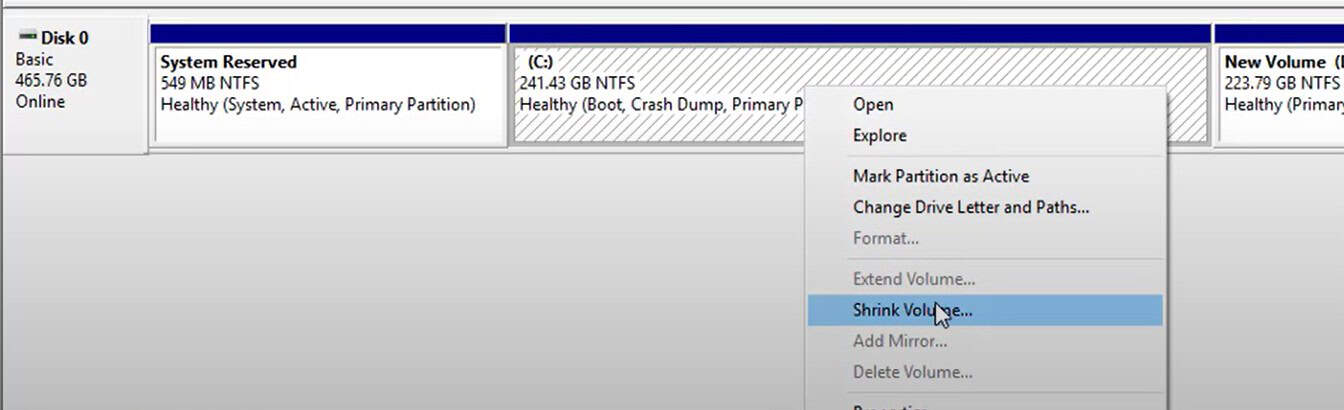
This way you can shrink the partition according to your needs.
Steps After Shrinking Partition
Once the shrink operation is complete, re-enable all previously disabled features to ensure system functionality.
1. Re-enable Hibernate
Open the command prompt as administrator as we opened in the previous steps and type the below prompt to enable hibernate:
powercfg.exe /h on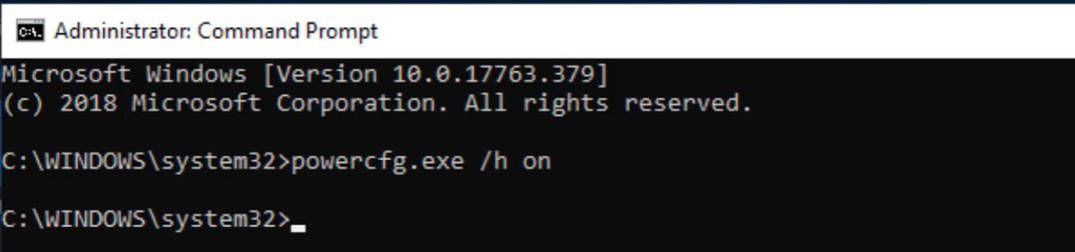
2. Re-enable Paging File
Open Virtual Memory settings and select “Automatically manage paging file size for all drives.”
3. Re-enable System Restore
Go to System Protection settings and turn on protection for the desired drive.
If these steps don’t work, consider using third-party tools like EaseUS Partition Manager. These tools can help bypass some of the limitations of the built-in Disk Management utility. If you’re running a Windows server and need a seamless environment, consider Veeble’s Windows RDP. It provides robust and reliable remote desktop solutions, making tasks like partition management effortless.
By following these steps, you should be able to shrink your partition successfully… Check out our blogs on partitioning the C Drive in Windows without formatting and merging partitions in Windows without data loss, which you may find interesting.