Creating a bootable USB using the command prompt is essential when we have limited access to the system. In this guide, I will show you how to create a bootable USB using CMD on Windows machines. This makes it ideal for creating boot drives for installing operating systems, even if you do not have full access to the Graphical Interface of the Windows machines. Follow these steps carefully, and remember to back up your USB data beforehand.
Prerequisites: A Windows computer, An 8GB or larger USB drive, ISO file for the operating system you want to install.
Steps to Boot USB with CMD
Open Command Prompt as Administrator
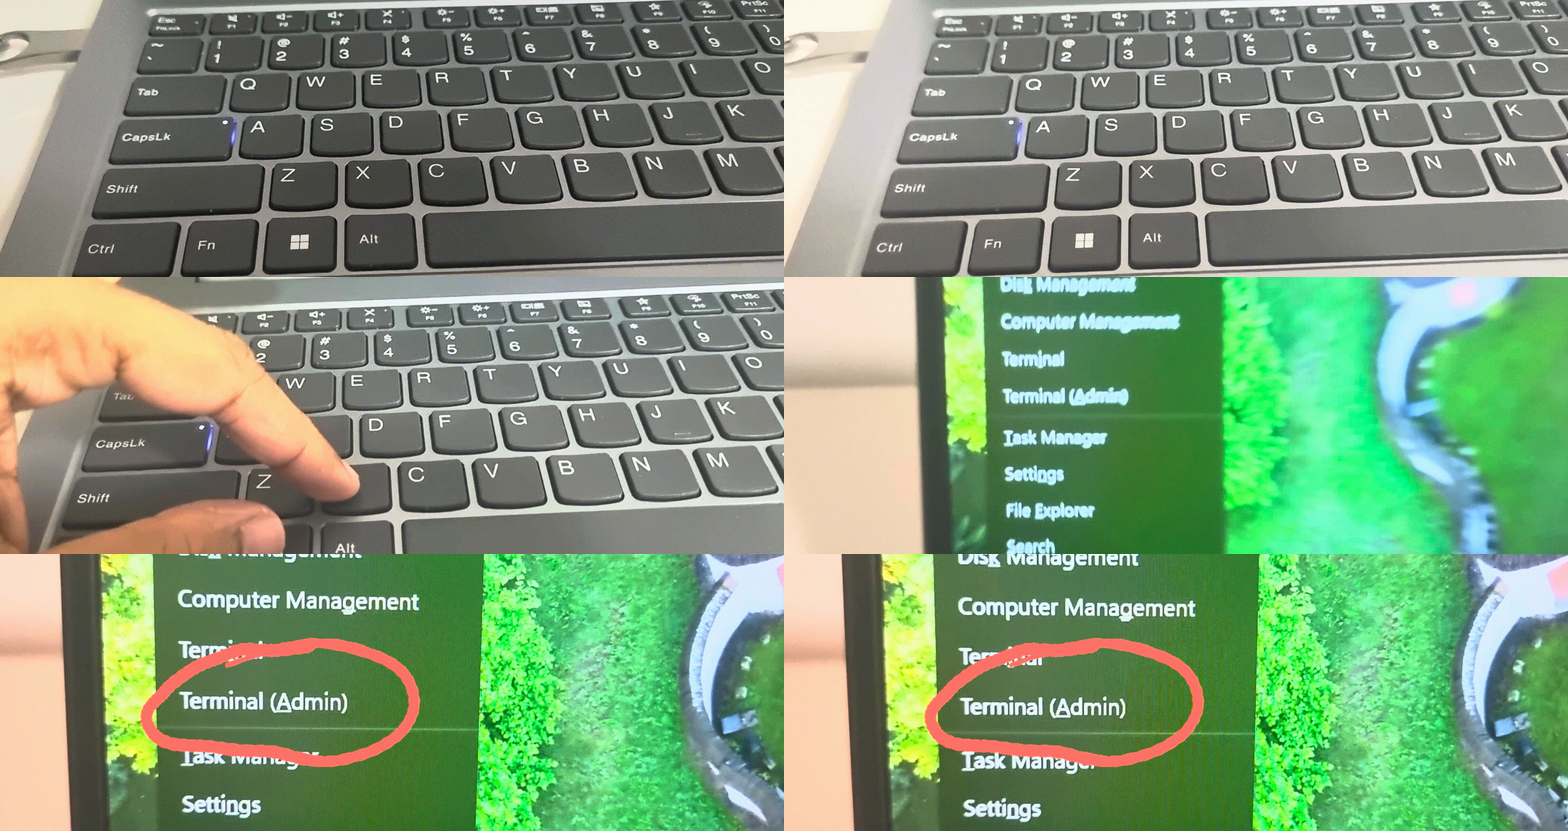
- Press the Windows key + X.
- Select Command Prompt (Admin) or Terminal (Admin) to launch the command prompt environment for boot USB.
- Click Yes to grant permission if asked.

Launch DiskPart Utility
In the Command Prompt, type diskpart and press Enter.
This will open the DiskPart utility, a key tool for creating a bootable USB using CMD.

List Disks and Select Your USB Drive
- Type list disk and press Enter to display all connected storage devices.
- Locate your USB drive (e.g., Disk 1).
- Type select disk X (replace X with your USB drive number) and press Enter.

Clean the USB Drive
Type clean and press Enter.
This erases all data on the drive, preparing it for a clean setup.

Create a New Partition
Type create partition primary and press Enter.
This creates the main partition for the USB via the command prompt for the boot process.

Format the Partition
Type format fs=fat32 label=Linux quick and press Enter.
This formats the partition to FAT32 with the label “Linux.”

Set the Partition as Active
Type active and press Enter.
This step is crucial for enabling the partition to boot as part of the USB bootable command prompt process.

Assign a Drive Letter
Type assign and press Enter.
A new drive letter will appear for the USB drive in Windows Explorer.

Copy Files to the USB Drive
- Open File Explorer and locate the ISO file for your operating system.
- Right-click the ISO file and select Mount.
- Highlight all files in the mounted ISO and drag them to the USB drive.

Safely Eject the USB Drive
- Right-click the USB drive in File Explorer.
- Select Eject to safely remove it.
Testing Phase: Restart your computer, access the BIOS or boot menu, and select the USB drive as the boot device. This ensures the bootable USB CMD process works successfully.
Using the command prompt, we created a bootable drive following this guide. If you found this guide helpful, please share it with others while taking advantage of the powerful Windows RDP by Veeble.