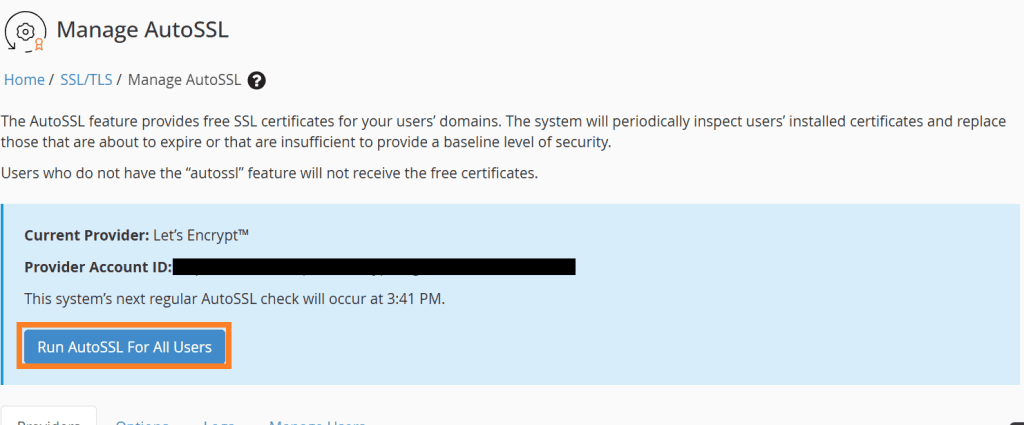
If you are managing a cPanel server, ensuring all domains under your care are secure is critical. AutoSSL is a fantastic feature in WHM that provides free SSL certificates for domains, making websites more secure with minimal effort. In this guide, I’ll walk you through enabling AutoSSL for all users in WHM, based on my experience in managing cPanel servers.
Why AutoSSL?
AutoSSL simplifies the process of securing websites by automatically issuing and renewing SSL certificates from trusted providers like Let’s Encrypt1 or cPanel (powered by Sectigo2). This ensures that your users’ sites always stay secure, improving their SEO rankings and protecting sensitive data.
Steps to Enable AutoSSL for All Users
1: Log in to WHM
Access your WHM panel by navigating to your server’s IP or hostname followed by :2087 (e.g., https://yourserverip:2087).
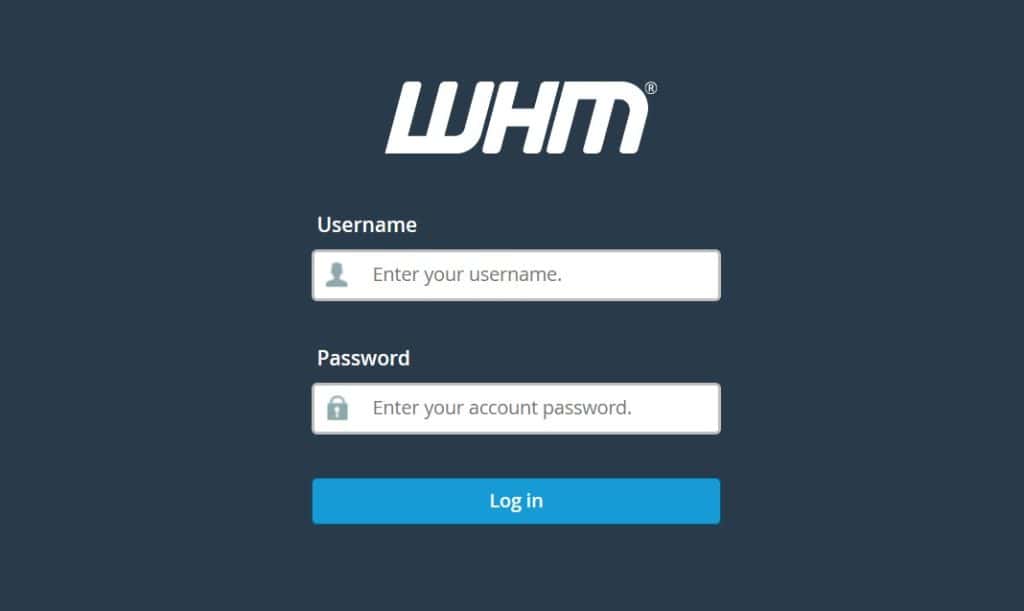
Enter your root credentials to log in.
2: Navigate to AutoSSL Settings
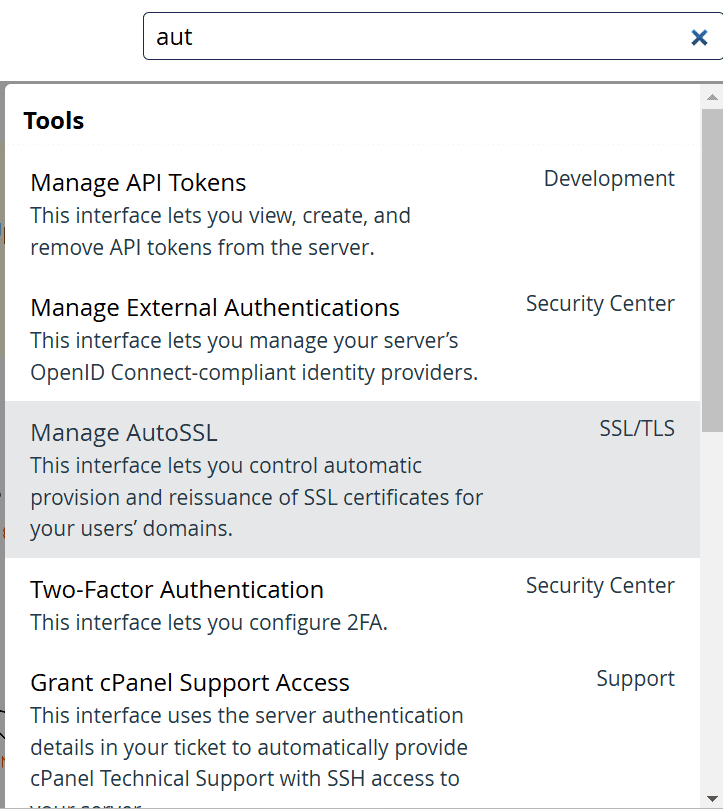
- Once logged in, type “AutoSSL” in the search bar on the left menu.
- Click on “Manage AutoSSL” from the results.
3: Select the AutoSSL Provider
- On the Manage AutoSSL page, you’ll see a section to choose the SSL provider.
- Let’s Encrypt: Free and highly reliable, but you need to enable it first (explained below).
- cPanel (powered by Sectigo): Pre-configured and ready to use.
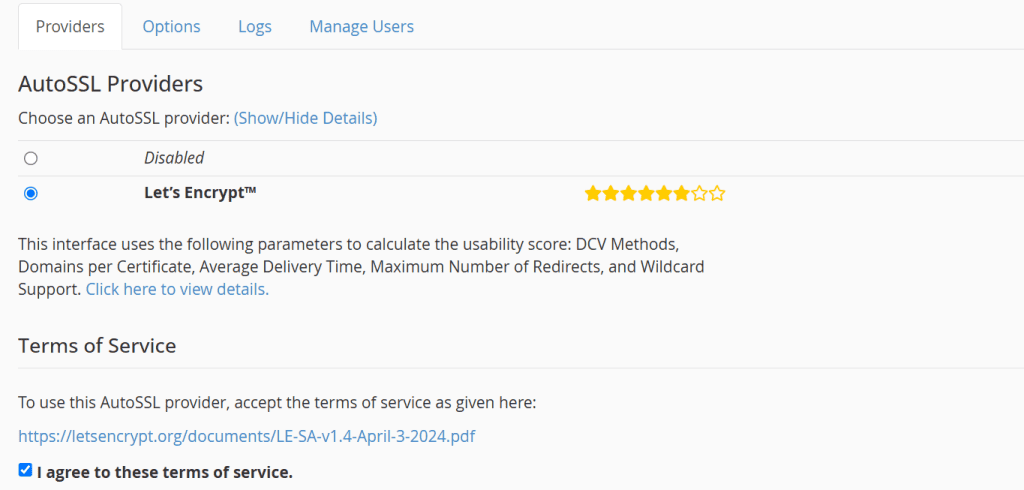
2. Select your preferred provider and click Save.
4: Configure AutoSSL Settings
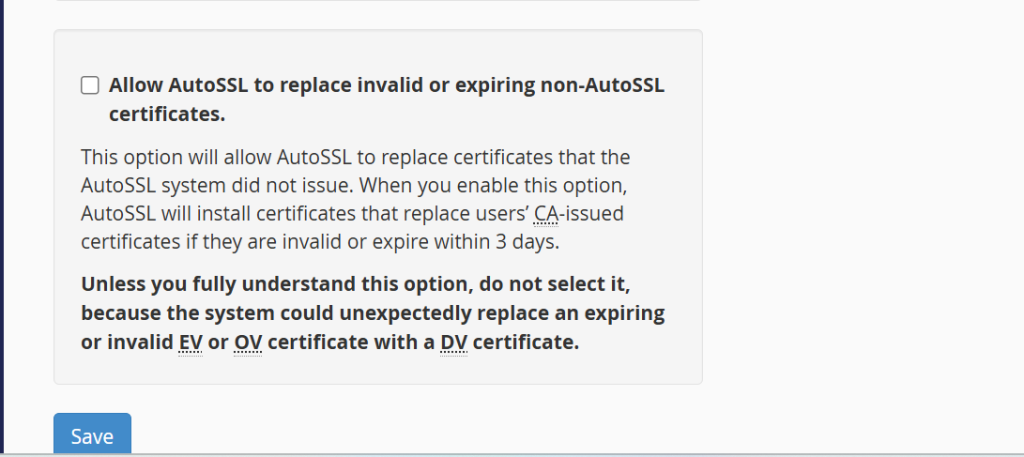
Under Options, enable the following:
-> Allow AutoSSL to replace invalid or expired non-AutoSSL certificates:- Ensures expired SSLs are replaced promptly.
5: Run AutoSSL
- Now click AutoSSL for all users to enable autoSSL for all cPanel users in WHM.

If you wish to run AutoSSL for particular users, click Manage users option and select the users you wish to enable AutoSSL then click on Enable AutoSSL on selected users
6: View Logs
Once the AutoSSL process is triggered, you can check the details in logs tab. You can chcek the complete logs by clicking on view log.
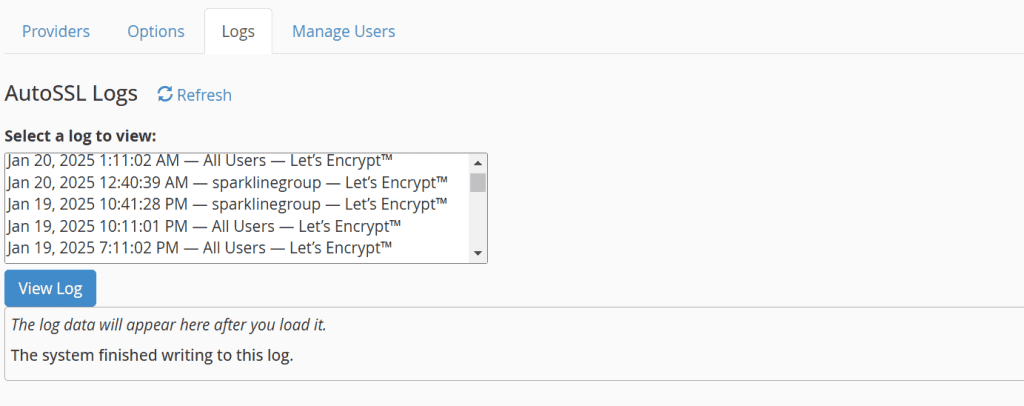
Once the installation is successfully completed, you can verify using https://<Domain>
Conclusion
Enabling AutoSSL in WHM is a game-changer for both administrators and users. It automates the SSL certification process, making your server more secure while saving you time and effort. Whether you are hosting small blogs or e-commerce sites, having AutoSSL enabled ensures a hassle-free, secure environment.
By following this guide, you will not only improve your server’s security but also earn the trust of your users. Remember to keep your WHM/cPanel updated and periodically review AutoSSL settings for optimal performance
If you wish to go a step further and purchase dedicated SSL certificates for added security and reliability, consider checking out Veeble Hosting’s SSL solutions. We offer premium SSL certificates designed to provide maximum protection and trust for your websites.
Also Read:
