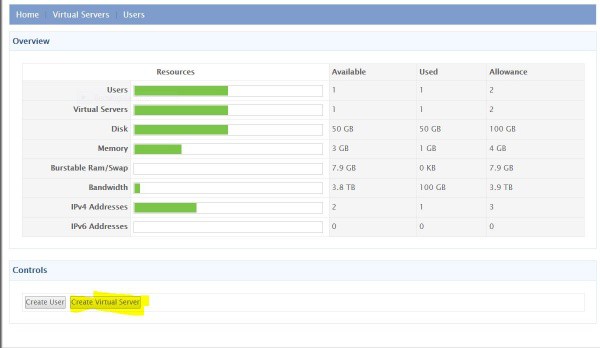
1. In the reseller panel click on the “Create Virtual Server” button. If you have not yet created a user, you need to create the user before creating the server.
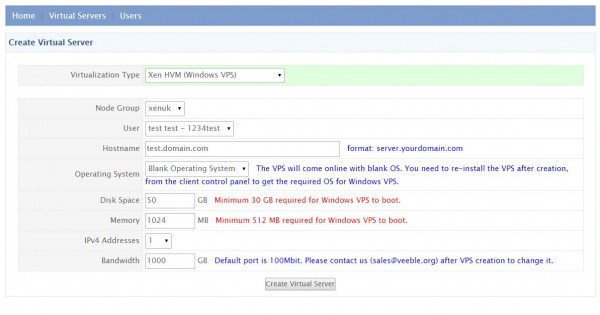
2. Then you may choose the Virtualization Type as “Xen HVM (Windows VPS)”.
3. Enter the VPS specification in the boxes and click on the “Create Virtual Server” button.
Operating System installation on server
3. The VPS is being built now with a blank Operating System. You need to follow the next steps to install an Operating System on it.

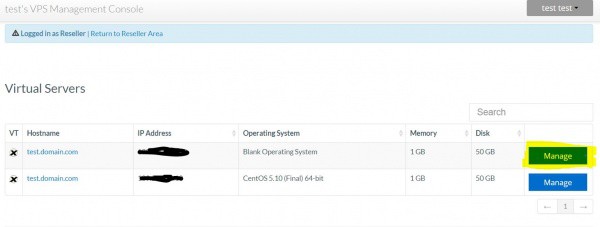
4. Click on the Continue button. This will take you to the VPS list page. Now click on the “Manage” button corresponding to the VPS created just now.

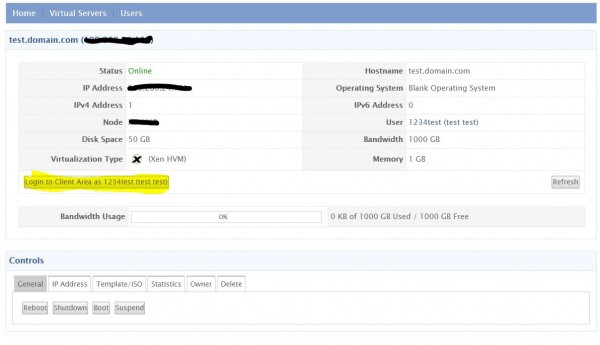
5. Now you need to log in as a Client to install the Operating System.
Click on the “Login to Client” button as seen in the below image.
6. Then choose the VPS from the list by clicking the “Manage” button.
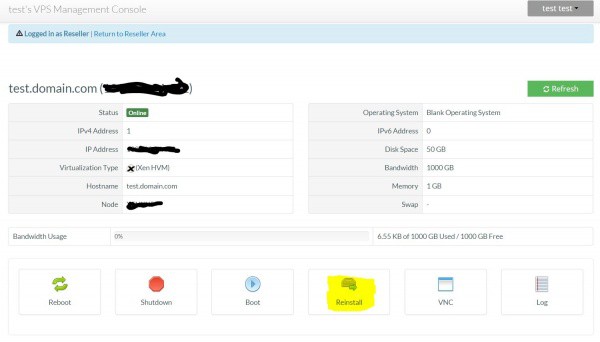
7. Now you may click on the “Re-install button. This will lead to a page that displays all available Windows Operating Systems.
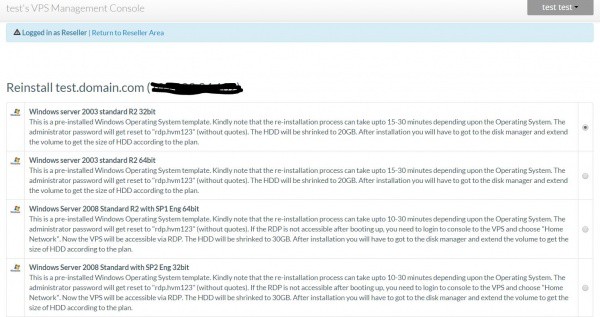
8. You may install the OS from here. Kindly note that it will take 10-20 minutes for the VPS to boot up after installation. The administrator password is “rdp.hvm123” without quotes.
VPS server Accessibility
9. Once the VPS is online, you may try accessing it through RDP. If it’s not accessible you can check the status of the VPS through the “VNC” Option in the Client Panel. Java must be installed and enabled in the browser to access VNC.
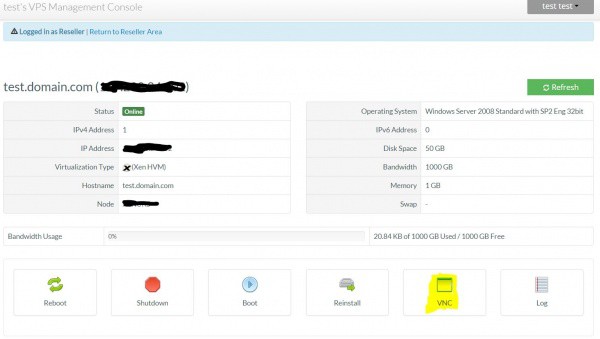
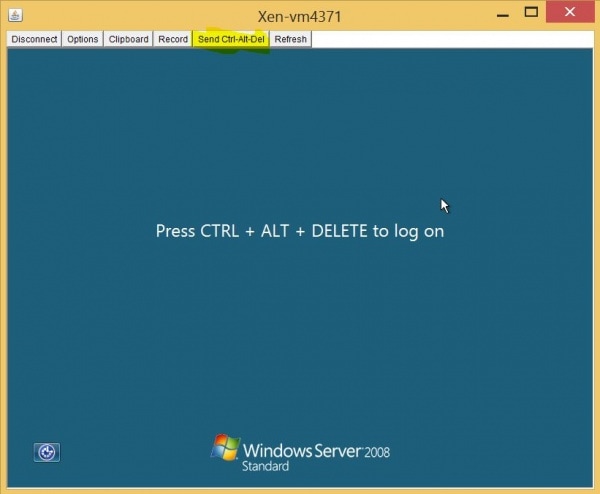
10. If you see a windows login screen in VNC and still the server is not accessible, please log in to the administrator account within VNC using the administrator password rdp.hvm123
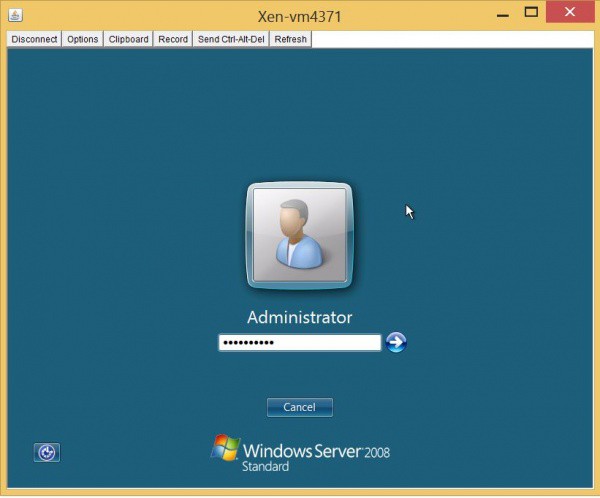
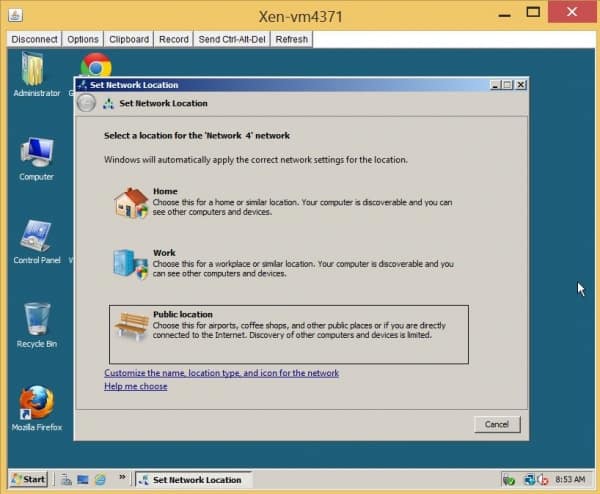
11. Now you can see a window to choose a network. You may choose any network there. This will enable you to access the VPS through RDP.
